About #
On this page, we discuss some tips in using Kubify in a way that works for you.
A lot is optional in order to accommodate different users, from easy to professional.
Sizes #
We may offer different printable sizes of the same material like e.g. PLA.
In the short description, we always mention the maximum size printable for each product.
Always use the smallest sized product for your print to keep costs minimal provided that your material of choice is supported.
As an example, PLA, PETG and TPU currently support prints up to 260×260×300 mm.
Your model cannot be bigger than this. If this is the case, select another product (if available) that supports a larger size or see the advanced Orca slicer topic below.
BASICS #
Every user starts by picking a product on the LET’S PRINT page.
In our MATERIALS page, we describe these materials, the pros and cons of each combined with popular use-cases.
This helps you to make product selection.
Next, the web page of the selected product will load.
Click on the “CONFIGURE YOUR 3D PRINT JOB” button:

This will open the configuration part to customize your print.
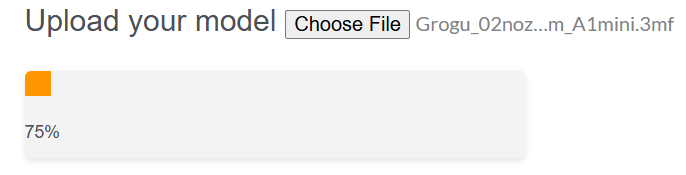
Your Model
Select the Choose File button to upload your model. This can be a STL or a 3MF file.
After selection, the file will be uploaded, opened, and sliced to gather usefull information. This may take a while…..please wait:
Plates
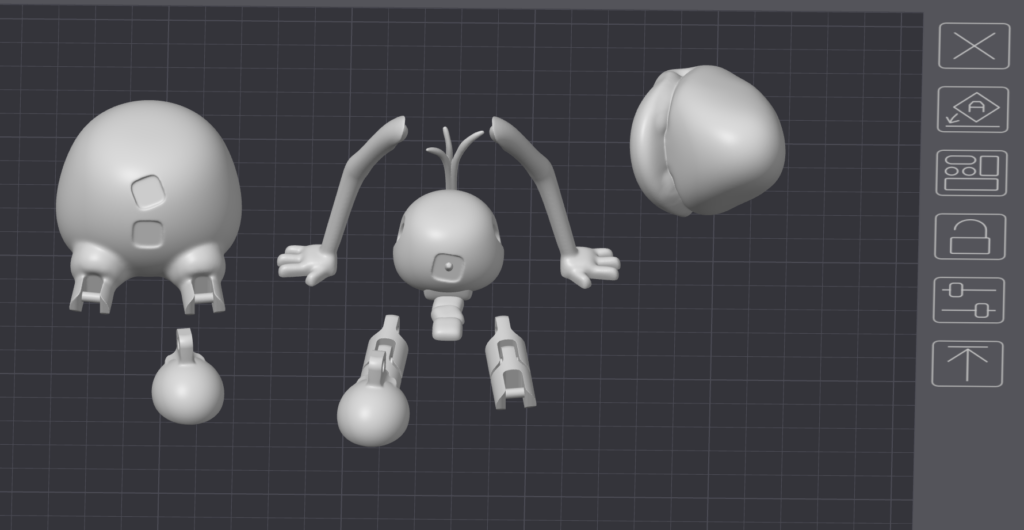
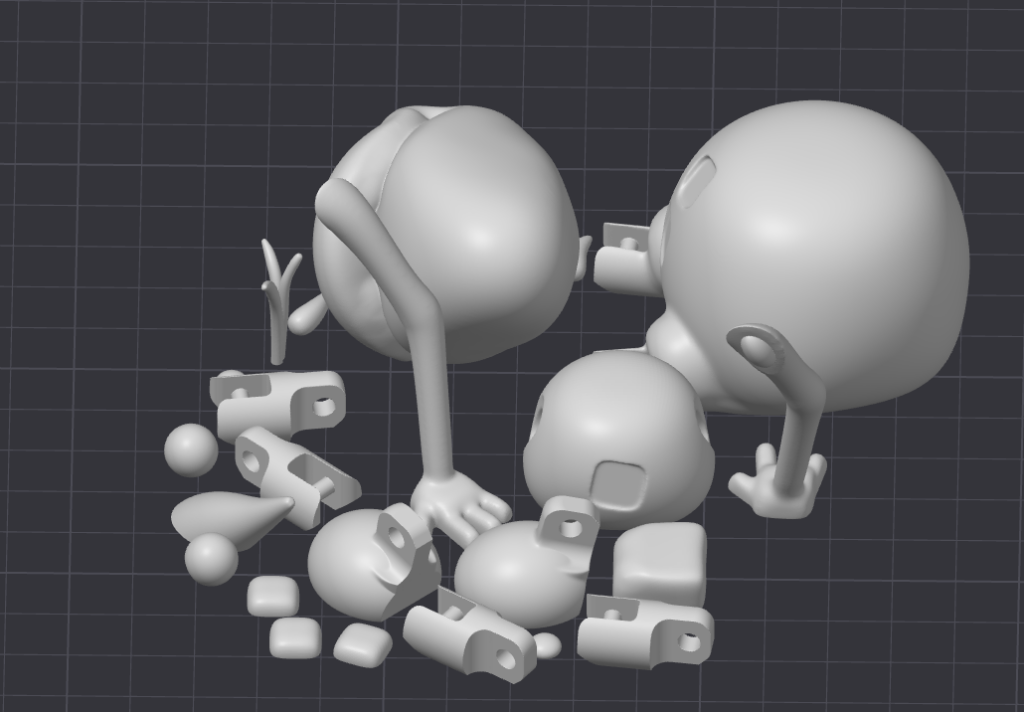
After loading, you will see the picture of the STL model or the picture of the 1st plate of a 3MF model.
In case of the latter, you may select another plate from the dropdown.
If your 3MF model has named the plates, we will try to display these as well.
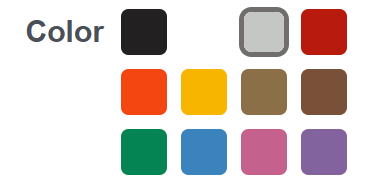
Color
Depending on the selected product, we may offer a choice for the color you need.
When hovering above a color, the name will also be shown.
Auto Orient/Arrange
Auto orient and arrange are advanced concepts in 3D printing. If your print is facing down in a very inefficient way, this can cause a lot of support to be generated adding unneeded costs to the print and also influencing the finish in a negative way.
The best models are designed to NOT need support at all, but this is not always possible.
Also, even if you have a model that is optimized for minimal or no support, or support as part of the model, we need it to face the right direction!
If this is the case, as you can see in the render, select NO for auto orient/arrange.
By default we use Auto where our algorithm will try to optimize this.
When using a STL file, you cannot alter this setting and it stays on Auto.
For less advanced users who don’t know 3D slicing and don’t want to read the Orca optimization part below, leave this at Auto with a small risk of less optimized end result.
Settings Category
This is the interesting part for easy users 🙂
But also advanced users need to make choice here!
Make a choice here regarding what kind of print this is ; with your selection, we auto tune a lot of (advanced) settings you don’t need to worry about:
1) Miniatures & Fine Detail Parts
Use this option for fine parts, screws, miniatures, small parts etc. Here we want the best finish.
This will take much longer to manufacture and therefore the costs do go up.
2) General Parts
Use this option for everything that does not fall within the other options. Medium to large parts, with a good finish and a good balance between print time and costs.
3) Functional Strong Parts
This option is comparable to General Parts, but we use more walls, bottom and upper layers and optimized layer patterns for a strong surface instead of a nice surface.
4) Drafts
Here you don’t care that much about the finish of the print or how strong it is. You want to print a Draft version to see how it looks in reality and need the costs to be minimal and delivery time to be fast.
When you make a selection, we will fill in values for Layer Height and Advanced Settings.
Easy users can skip these and move to Compute Price
Layer Height (optional)
The layer height determines the quality of the finish. A low layer height is nearly visible e.g 0.12 mm
We use 0.20 mm as default for General and Functional Parts and 0.24 mm for Drafts.
You can deviate from this.
Advanced Settings (optional)
Anyone with 3D printing experience will know what to select here.
For other users we advice not to alter these values or change what is needed if your model came with a description from its designer.
For example, it is possible you downloaded a model from Printables where the designer mentioned to use the ‘Arachne’ wall generator or use 12% infill etc.
Here, we provide the option to manually alter a couple of these settings.
Supports
I want to give special attention to supports.
If your model is optimized for printing without supports, you should disable it here.
Otherwise you can change the settings. Check if the author of the model has provided tips on what supports to use.
See also below where we cover using Orca Slicer. It is not very difficult.
Compute Price
When you are done with the settings, click this button.
We will determine the costs of the print, with and without tax. This is per print.
We also show the size of the complete print here.
Quantity
Here you can let us know how many prints you want to order of the current model/plate and the settings set at the moment.
ADD TO CART
If you are done, clicking this button will add the model and all selected options to the cart.
You can go to the home page to select and configure more prints/models or proceed to finalize the order and pay.
After payment, the model will be queued at our printers and ready for manufacturing.
ADD TO CART & CONTINUE WITH CURRENT MODEL
Same as add to cart, but while the model with its settings is added to the cart, you stay on this page.
This is helpful when you want to configure multiple sets of different settings for the same model or continue with another plate of your 3MF model.
No need to select a product again and the same file…
Optimizing in Orca Slicer (optional) #
In this part, we will show you how to easily use a program (Orca Slicer) to optimize your model for the best results.
Why Orca Slicer?
Because it is free, open-source and one of the best and most used slicers.
Also, because it is not owned by a specific brand and therefor agnostic and more open.
We use this as a common ground to communicate and standardize features and options with our clients.
Download and Install Orca slicer #
Here under Assets you can find the appropriate installer for your system:
https://github.com/OrcaSlicer/OrcaSlicer/releases
Documentation is here:
https://www.orcaslicer.com/wiki/#
If you don’t have a test model yet, find something here:
– https://www.printables.com/
– https://makerworld.com/
– https://www.crealitycloud.com/
– …
Download your test model somewhere ; it should be an STL or 3MF file, and then open it in Orca Slicer.
For 3MF select: Open Project.
For STL select: Import 3MF/STL/….
For any other format supported by ORCA but not by Kubify, try one of these options and save/export it as a 3MF.
Setting BED size #
Depending on your model, it will have a default printer e.g. Bambu Labs P1S etc.
Otherwise select any printer, it does not matter.
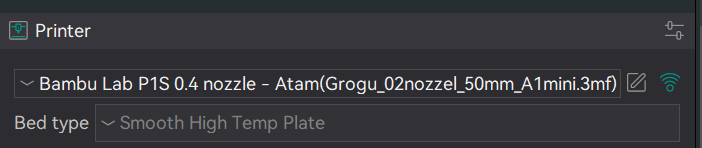
What matters is the bed size.
Click on the preset next to the printer name. This will open the printer settings.
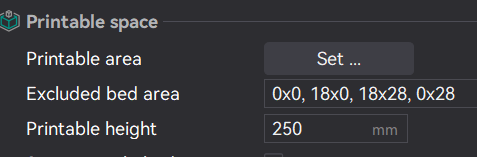
In our example, we selected the product ‘PLA’ which states a maximum print size of 260x260x300.
So we change the bed size to these values.
Use ‘Set…’ for the X and Y measurements, in our case 260 x 260.
And ‘Print Height’ for the height of 300
Once done, click the close button on this settings screen.
Auto Orient
On the build plate on which your object is drawn, there are some settings to the right.
You can experiment with ‘Auto Orient’ to see if the orientation can be optimized and if it makes sense.

If nothing happens, your object is already placed in the best orientation. Nice!
If you know your object is designed for its default position, do not alter this!
If you know for sure, that a certain side is better to be on the plate, you can select this with the ‘Lay of Face’ button if your object is selected.
Keep in mind, 1 model or 1 plate can contain more objects, and you can optimize each of them separately:

Auto Arrange
When you have multiple parts, you can opt to first arrange them better on the plate(s).
You can do this manually, or see if Orca can do a good enough job using the ‘Arrange’ button on the plate:

This is an example layout before we use auto arrange:
This is the effect after auto arrange:
Organize using mutiple Plates #
If you have multiple objects in the model, organizing on multiple plates can have benefits:
– You may need to only print some of objects, and not the rest. Put them on a different plate and select the right one to print.
– If you want to use different colors or materials for some objects, put them on a separate plate
– If you want to use other settings for some objects like e.g. support creation
– All the objects do not FIT on 1 bed size
– Multiple objects: if you need 10 copies of an object and they fit on 1 plate, make a plate with 10 pieces. This is 1 print job instead of 10 print jobs which will costs less.
You can add plates with the ‘Add plate’ button:

This adds more plates, and drag objects to each plate you want.
It helps to name your plates also:

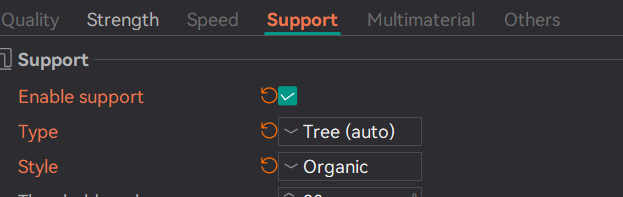
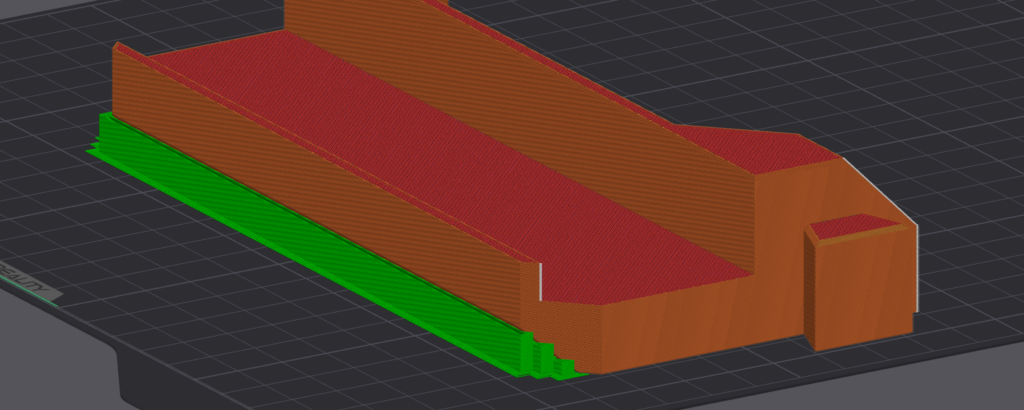
Supports #
This is the best thing to experiment with once you have optimzed your objects around plates, and in the right orientation.
What is the best support to use?
For our hands plate, we select under Support on the left side: ‘Tree (auto)’ and ‘Organic’:
Next we click on ‘Slice Plate’ at the top right. This can take some time.
In green, you can see the generated support, which is great for the hands/arms we have because they are optimized, and this has therefore minimal surface it touches:
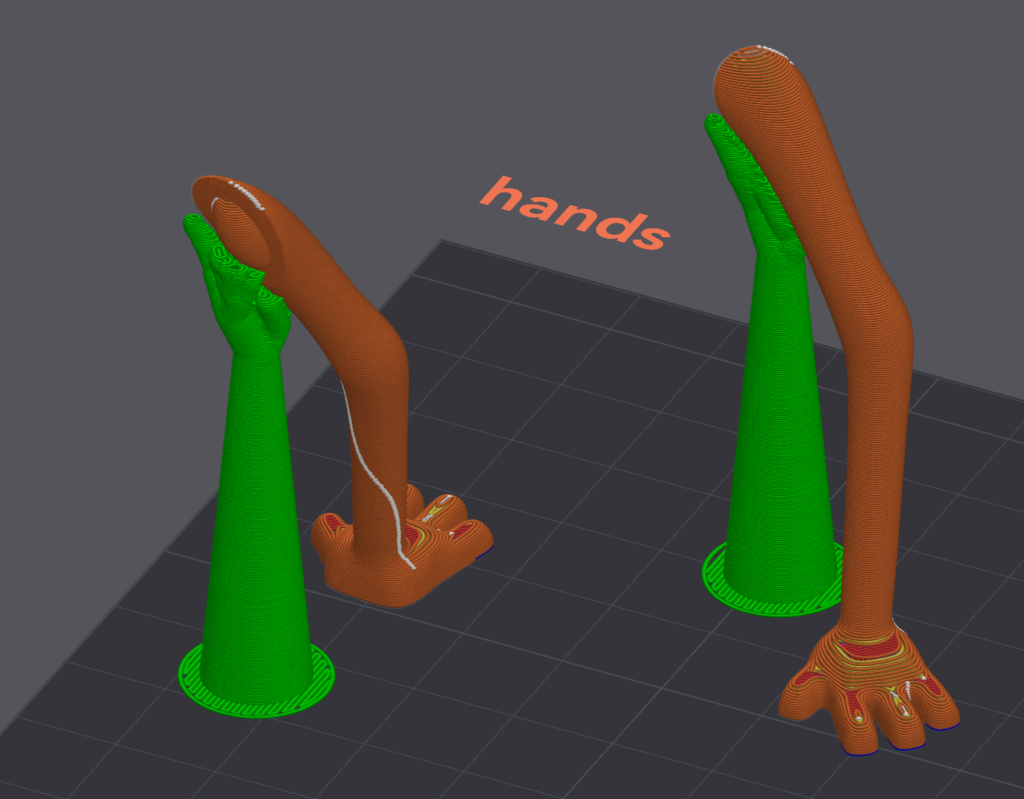
If you are not happy, try another option, slice it and compare the results e.g.tree hybrid.
For more structural supports, I tend to use non-tree supports like Grid or Snug:
finalize #
We have now:
– opened our model in Orca
– changed the maximum size of the printer settings to that of the Kubify product chosen
– organized the objects on multiple plates
– arranged and oriented them either with auto or manual
– optimized the support type for each plate and remembered it.
Now, we save the project as 3MF: File->Save or Save As.
On Kubify, you select the product you wish and select this saved model.
Under Plates, you will recognize the plates you created or your model had.
Select the plate, color etc etc like before.
Under Auto Orient/Arrange select ‘NO’: we already optimized this in Orca
Under Advanced Settings, change whatever you like, but more importantly select the support type that seemed best in Orca or disable it if you objects don’t need support.
Any other settinsg we provide, you can play with in Orca to see what works best for your model.
Congratulations, you made it to the end!
With this, we achieve a better end result, and the next time will go faster and faster for you.
BUGS #
We offer a complex, multi-system platform that integrates with many services and hardware.
We love it! But it is complex.
It may happen that something does not work as it should, or we made a spelling mistake, or anything else that you see as an improvement.
Use the Contact page to let us know and we will do our best to keep improving our platform with your help.
Thank you, and happy printing!


